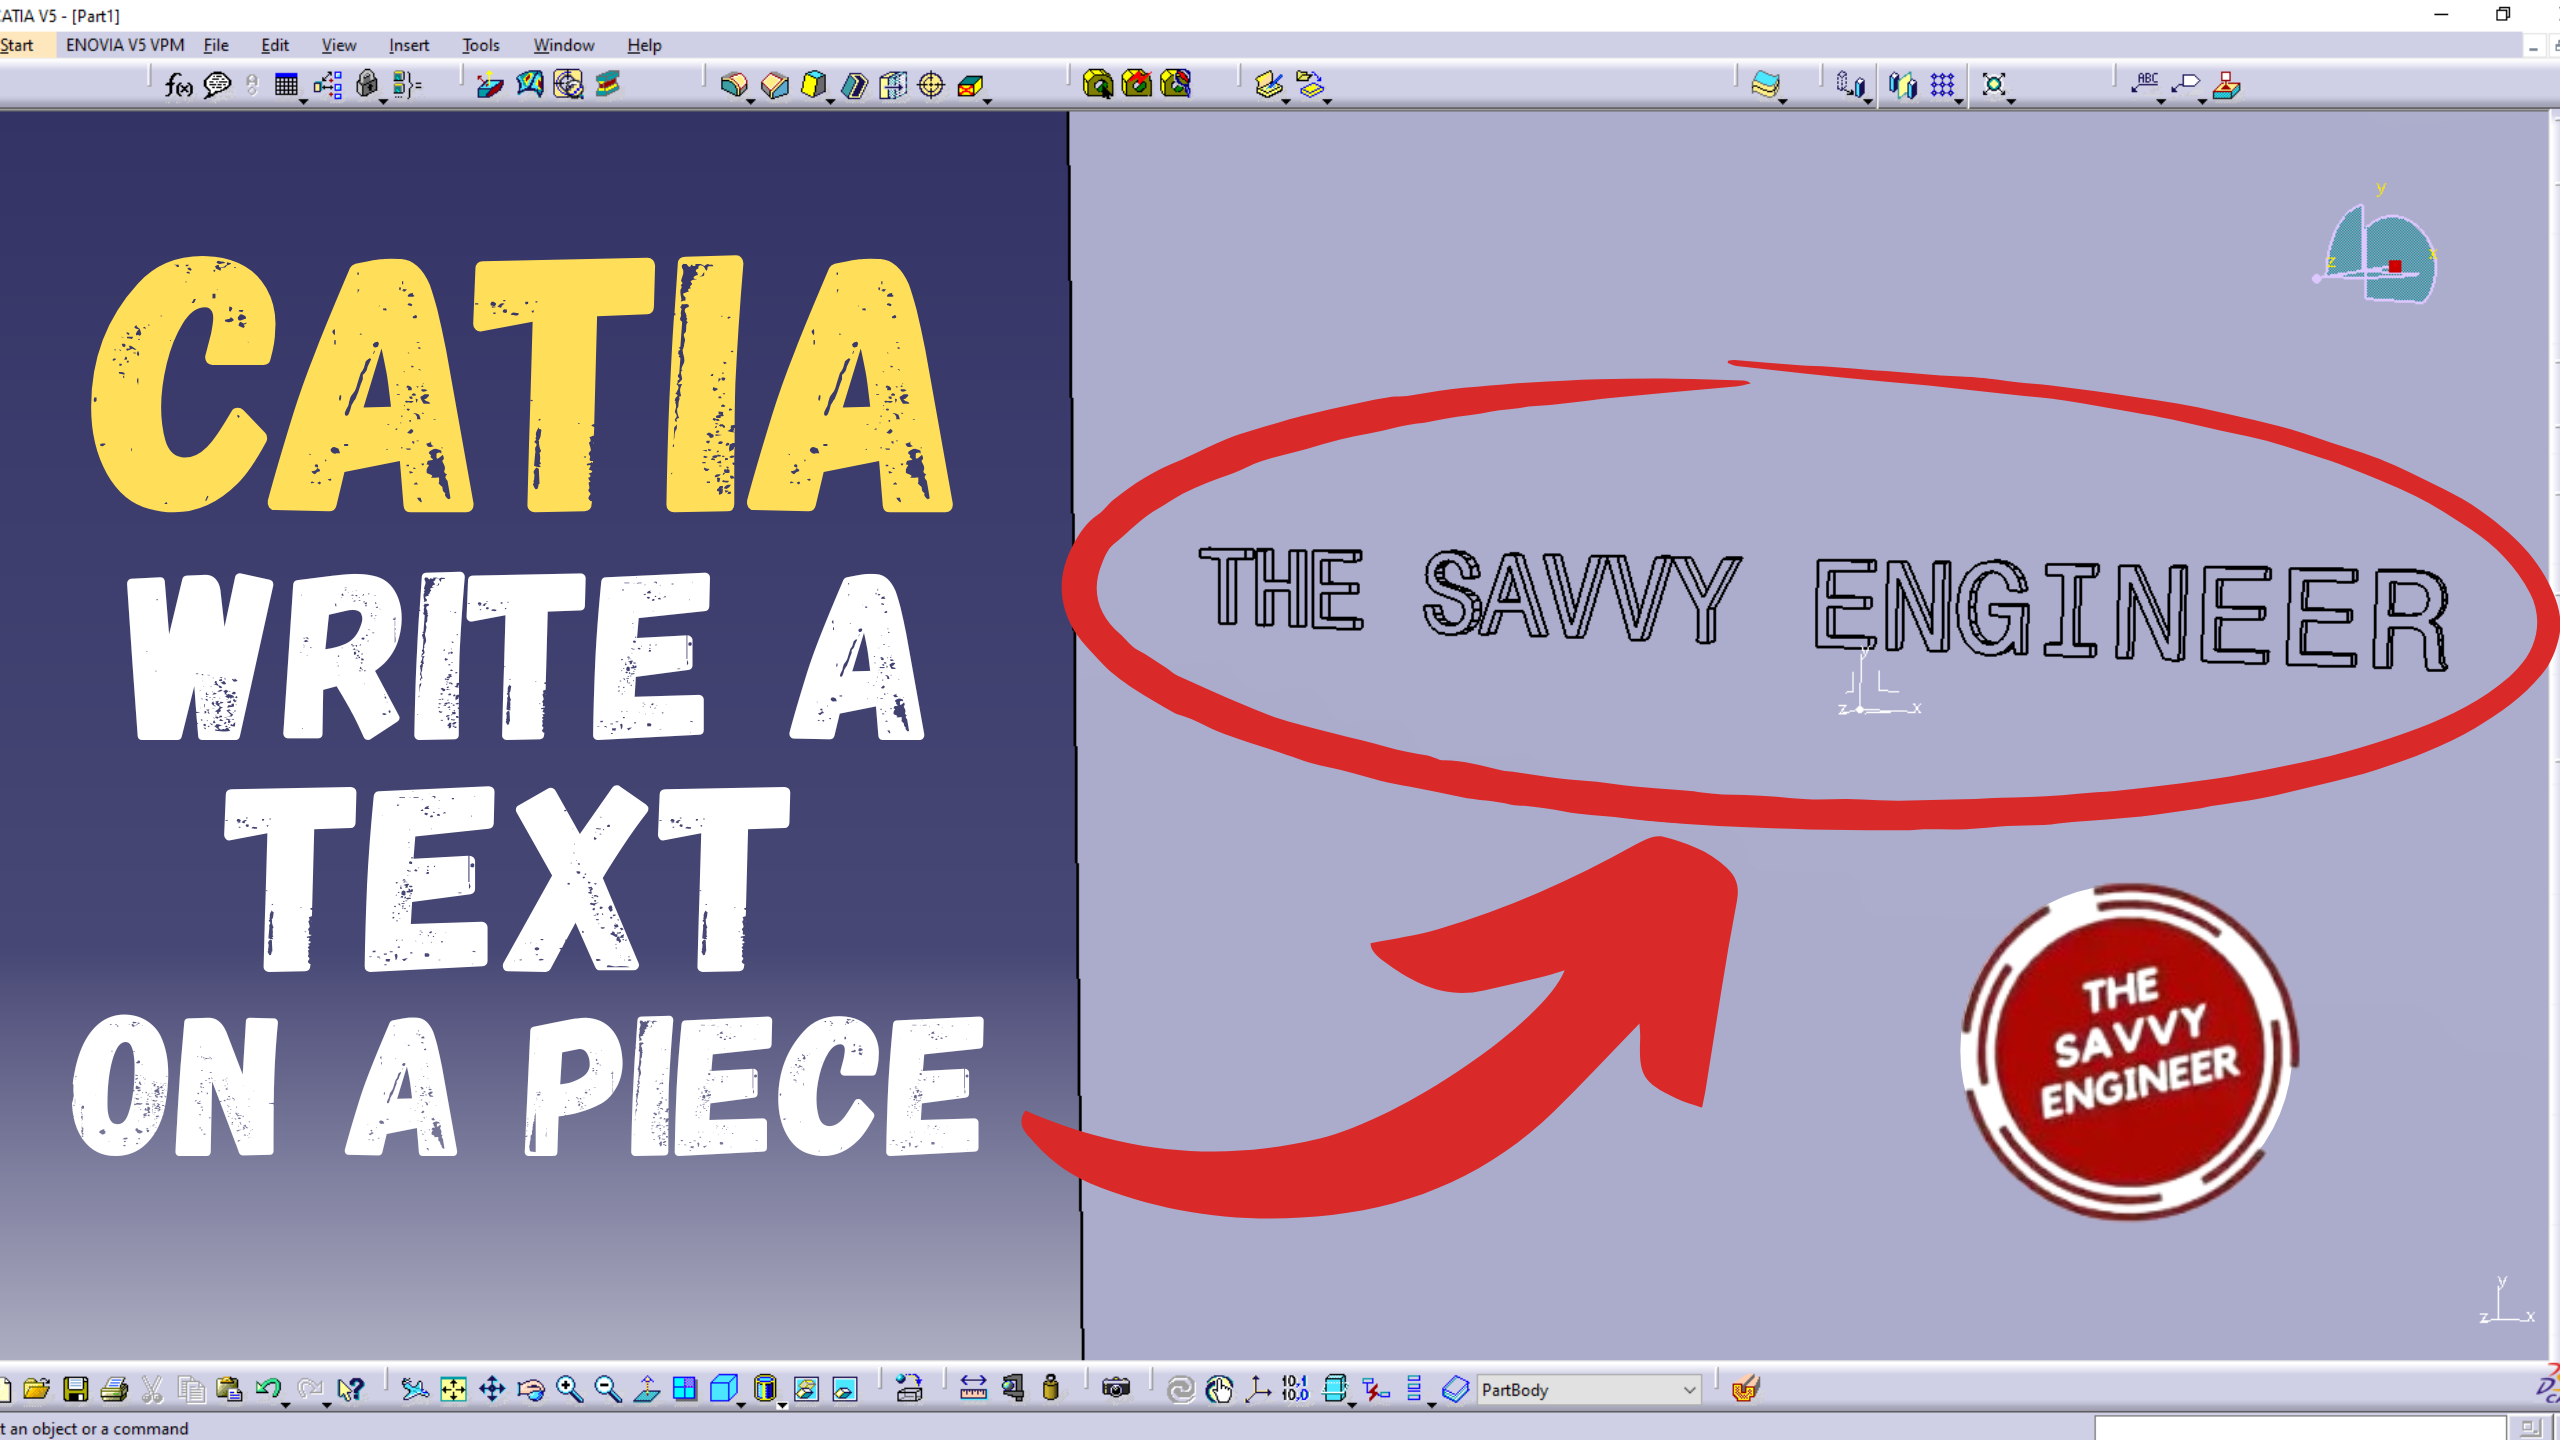


Learning how to write text on a piece in CATIA is essential for creating professional and functional 3D models. It allows you to add important details such as part numbers, labels, or logos directly onto components, improving clarity and identification in manufacturing. This skill is also useful for branding and design presentation, making your models look more refined.
Moreover, text engraving or embossing prepares parts for processes like CNC machining or 3D printing. Mastering this feature enhances your design precision, communication, and overall modeling quality, making your work stand out in both technical and creative projects.
My plan in this tutorial is to design a simple part, then write a text on it. let’s get Started!
Go to Start, mechanical design, then part design workbench.
Next, you check the ‘enable hybrid design‘ and the ‘create a geometrical set‘ options. Then you click on OK.
Go to the (XY) plane, then click on sketch.
Go to the Rectangle Command, then click on centered rectangle.
Draw a rectangle starting from the point of the axis. Then we will use the constraint command to add dimensions.
Add 100mm to the width and the length. Click on ok, then exit the sketcher workbench.
Click on the Pad Command, you will get this message, in this case the new extrusion will be created under the part body, and the sketches will be saved under the geometrical set.
Create an Extrusion of 20mm, then click on OK. make sure you click on the (+) sign of the part body to see the future features.
Now, go to start, mechanical design, then drafting.
Now, go to start, mechanical design, then drafting. Select the empty sheet option, then click on OK.
Go to the Text command, then click on the white box to add a new text.
Write the text you want, then click on OK.
You can change the text size from 3.5mm to 5mm.
Go to file, then click save as.
Select the DWG. File format, add the name you want to the file, then click on save.
Now, return to the piece in the part design workbench, select the top face of the part, then click sketch.
Now, return to the piece in the part design workbench, select the top face of the part, then click sketch.
Next, go to file, then open.
Select all the text, then click on copy.
Let’s come back to the sketcher workbench, do right-click on the sketch and click on paste.
Next, click on fit all in command.
Select all the text, then drag it on the top face of the piece, try to put it in the middle. Exit the sketcher workbench, then see image below.
Good Job! You did it! you writed your first text on a piece in CATIA!


You cannot copy content of this page
