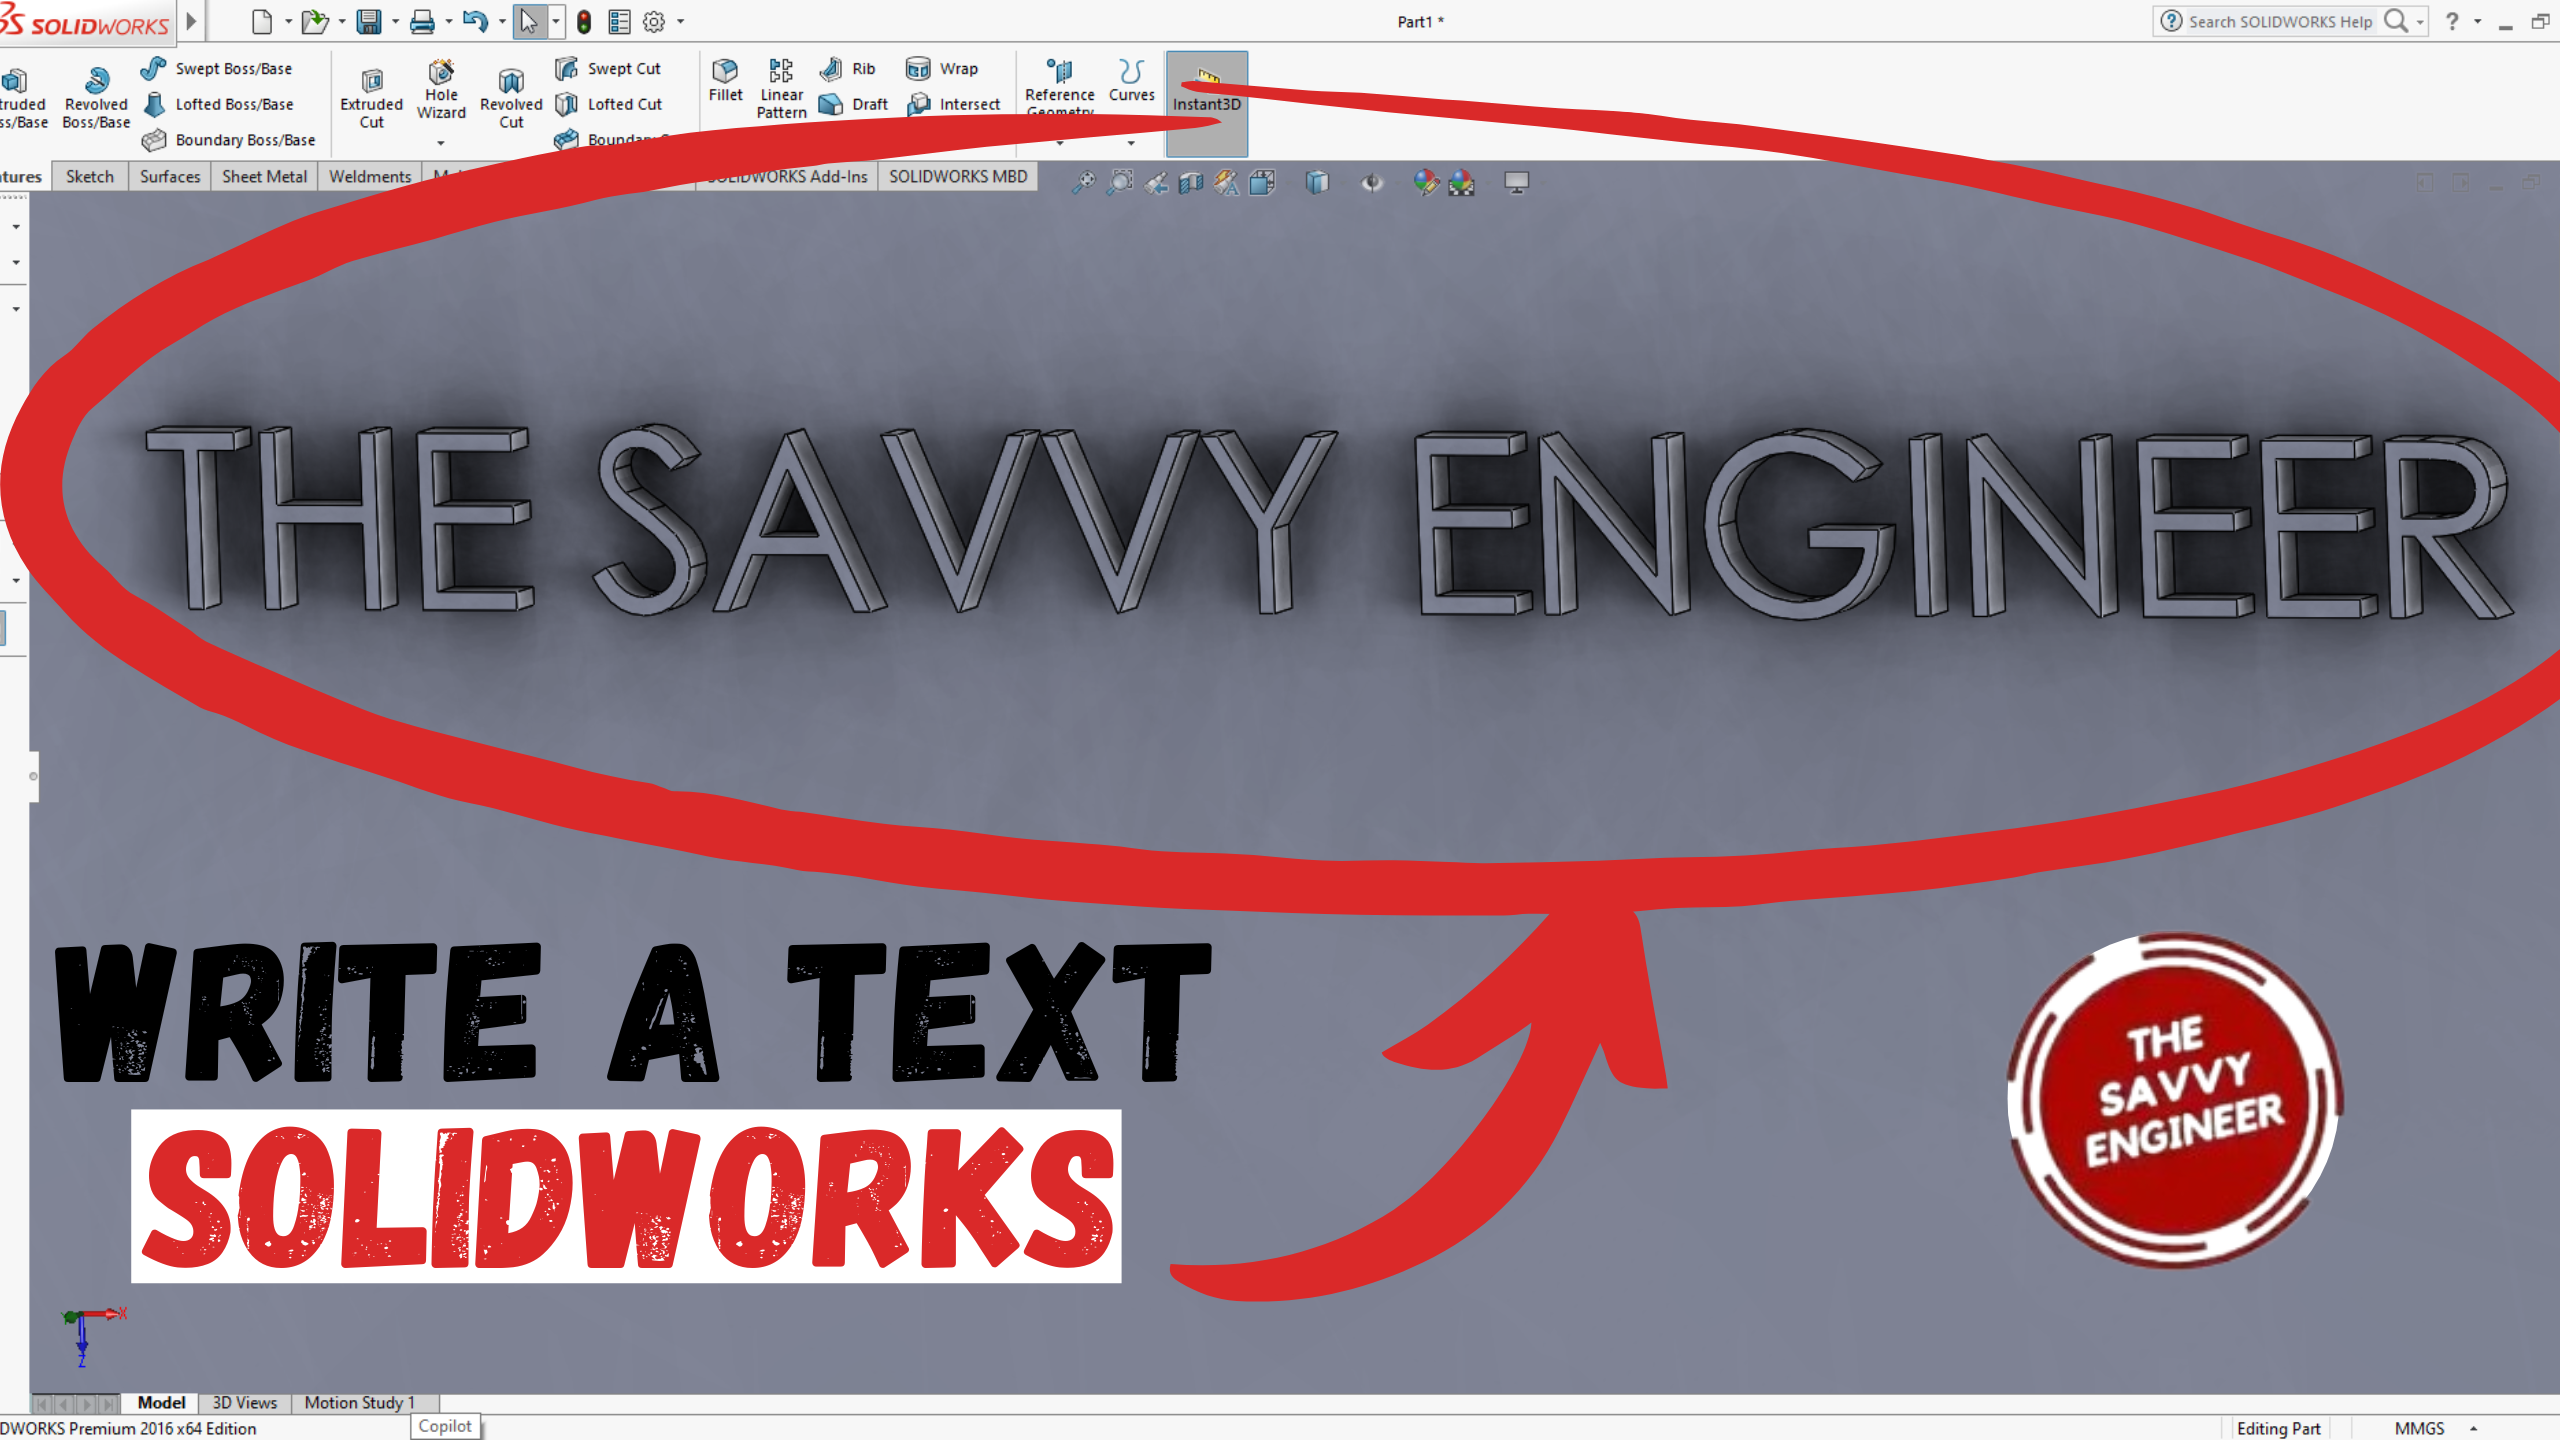


This skill is also useful for engraving or embossing text on manufactured parts, especially in CNC machining and 3D printing. Mastering this feature helps you enhance both the functionality and appearance of your projects. It demonstrates precision, creativity, and professionalism—qualities that make your SolidWorks designs more complete and ready for real-world production.
My plan here is to create an extrusion of 20mm then write a text on it. First, go to the top plane, do right-click, click on normal to, then on sketch.
Go to center rectangle command, draw a rectangle starting from the point of the axis.
Use the smart dimension command to add a 100mm dimension to the width and the length. Click on ok, then exit the workbench.
Go to features, then click on extruded boss/base.
Add 20mm to the extrusion, then click on OK.
Select the top face of the piece, click normal to, then sketch.
Under the line command, you will find the centerline option. Click on it.
Draw a centerline passing through the point of the axis, then add a dimension of 10mm between the extremity of the centerline and the edge of the extrusion, see image below.
Go to the Text command.
Write the text you want to add on the piece, then select the centerline.
Click on the center-align option to see the text in the middle of the centerline. Click OK, then exit the workbench.
Go to features, then Extruded boss/base.
Click on the sketch of the text, then add 1mm to the extrusion. then click OK.
The final result should look like this, see image below.
Good Work! You did it!


You cannot copy content of this page
