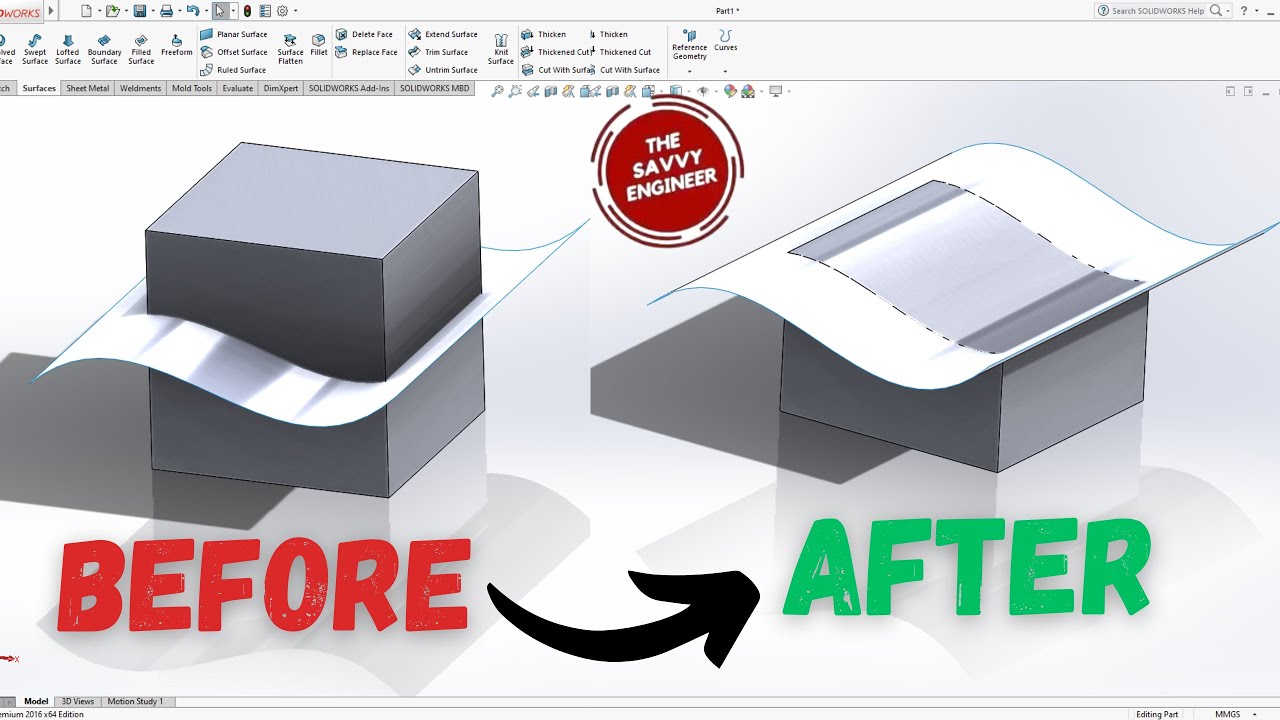


Hi SolidWorks Users! if you are still wondering how you can cut a solid with a surface in solidworks, don’t worry! In this blog post, and after following every single step in this tutorial, you will be able to split any solid part you want.
Learning how to cut a solid with a surface in SolidWorks is important because it gives you greater flexibility and precision in creating complex designs. Unlike simple extruded or revolved cuts, surface-based cuts allow you to shape solids using customized surfaces that follow curves, organic shapes, or irregular boundaries. This skill is especially useful in advanced modeling, product design, and engineering projects where standard cutting tools are not sufficient. It also helps you solve real-world design challenges by enabling detailed modifications and unique geometries. Mastering this technique improves your efficiency, creativity, and ability to produce professional-quality 3D models.
Click on the top plane, then on the normal to icon.
Click on the sketch command, then click on the center rectangle command to draw a rectangle starting from the center.
Click on the smart dimensions, then add 100mm for the length and the width. Next, click ok, then exit the workbench.
Go to features, then click on the extruded boss/base command.
In the depth field of the extruded boss/base command, add 100mm, then click ok.
Go to the front plane, click normal to, then click on sketch.
Go to the spline, draw one like this. click ok, then exit the workbench.
Go to the surfaces, then click on the extruded surface command.
add 100mm in the first limit field. do the same for the second limit. then click ok.
Now, go and click on the cut with surface command.
if the arrow is going up, this means that you will keep the bottom side of the part. click ok.

Yes you did it! this is how it looks to cut a solid with a surface in solidworks in a few simple steps!

You cannot copy content of this page
