How to Extrude a Part Face Up to an External Surface in SolidWorks: Step-by-Step Guide
Creating complex 3D shapes in SolidWorks often involves pushing, pulling, and shaping surfaces precisely. One common challenge is extruding a face just up to an external surface without going past it. Mastering this skill can make your designs smoother and more professional. This guide walks you through the process step by step, making it easy to follow even if you’re new to surface modeling.
Understanding the Basics of Surface and Solid Operations in SolidWorks
What is Surface Modeling?
Surface modeling allows you to create complex, curved shapes that are hard to do with just solid models. It’s especially useful for parts like car bodies, aircraft shells, or ergonomic enclosures. Instead of building from solid blocks, you work on just the surface shape, giving more flexibility in your design.
Key Commands for Surface Extrusion
- Extruded Surface: Creates a surface extending from a sketch, up to another surface.
- Replace Face: Changes a face of a solid with a new surface.
- Other tools: Loft, sweep, and boundary surfaces, which are more advanced but can help refine shapes later.
Proper Sketching Matters
Good sketches are the foundation for successful surface work. Use constraints to keep sketches accurate and clean. This way, surface commands will work smoothly, leading to better results.
Preparing Your Model: Sketching and Basic Features
Drawing the Base Sketch
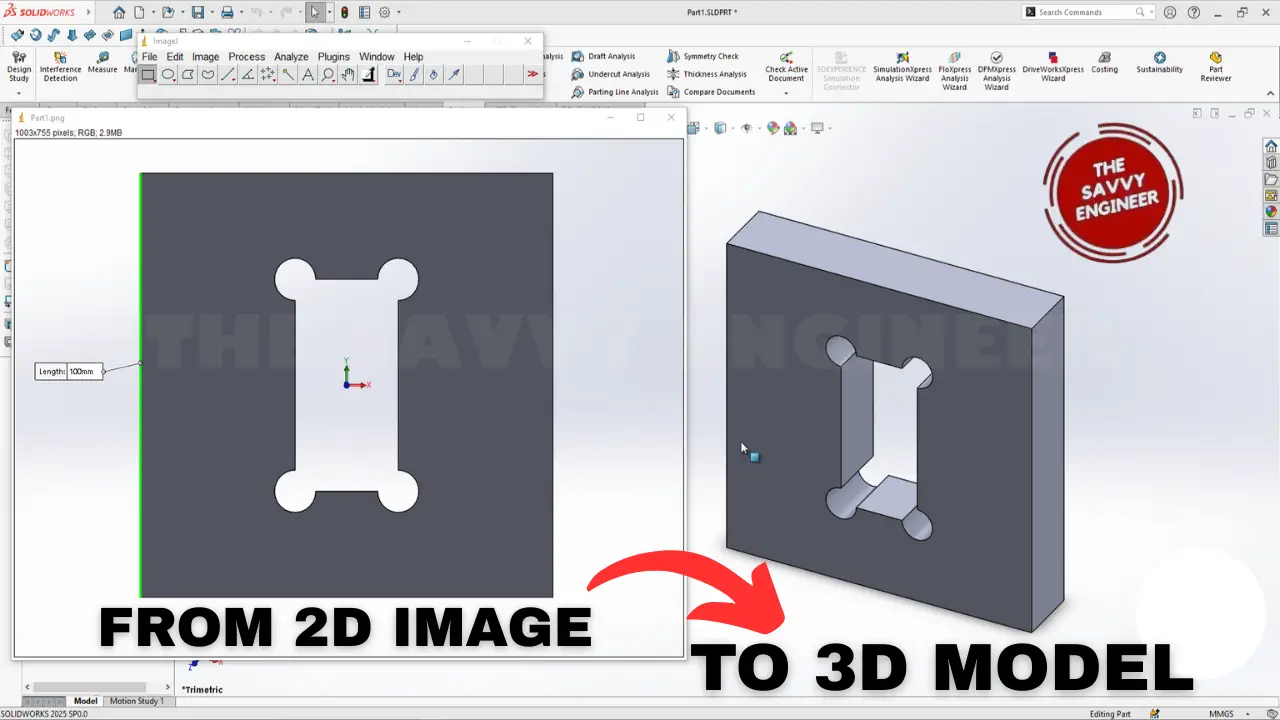
Start on the Top Plane. Draw a centered rectangle with 100 mm sides.
- Use the rectangle tool and set the dimensions to 100 mm x 100 mm.
- Make sure the rectangle is centered for symmetry.
- Fully define the sketch with dimensions and constraints.
Extruding the Shape
Next, turn that rectangle into a solid block.
- Use “Extruded Boss/Base” and set the depth to 20 mm.
- Confirm the extrusion. This forms your base shape.
Adding Complex Geometry with Splines
Switch to the Front Plane for more complex geometry.
- Draw a spline to define a curved boundary.
- Use control points to shape the spline.
- Set coincidence constraints to pin points to edges, ensuring accuracy.
Creating and Modifying External Surfaces
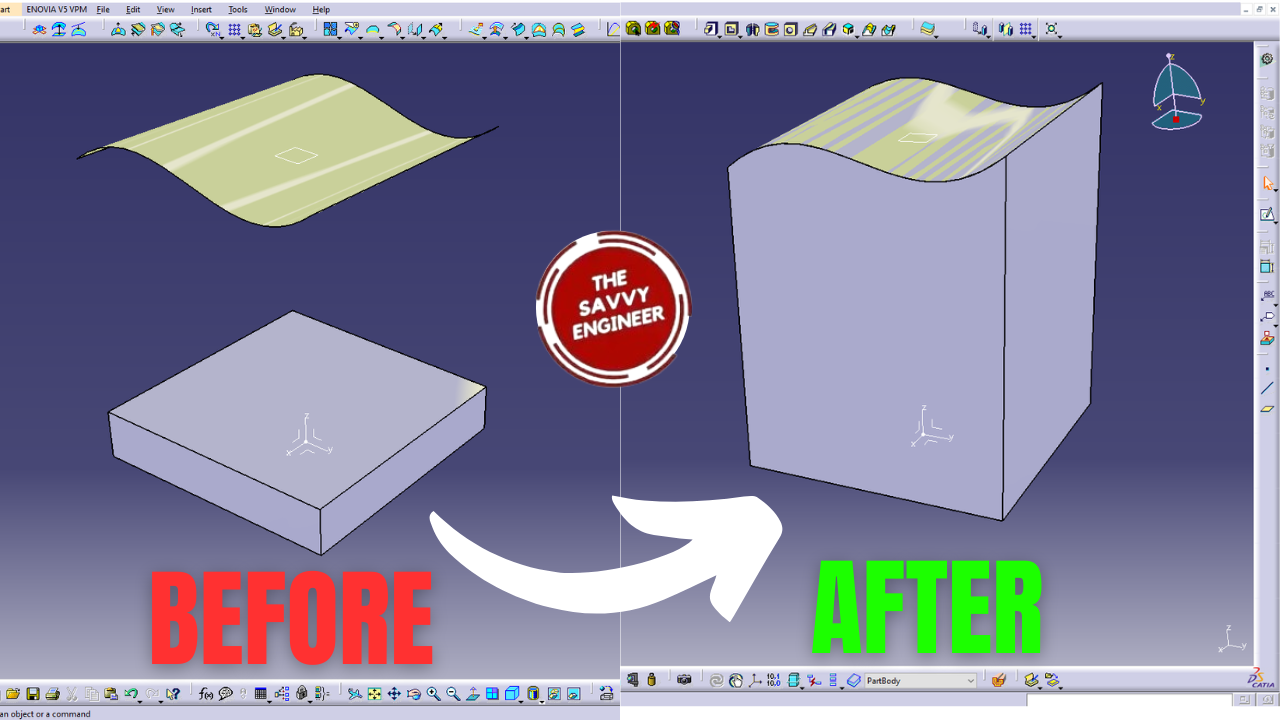
Generating External Surfaces
- Select the face you want to extend from.
- Go to the “Surfaces” tab and choose “Extruded Surface.”
- In the options, pick “Up to Surface” instead of the usual distance.
- Select the external surface you want to reach.
- Set the extrusion to go in the desired direction.
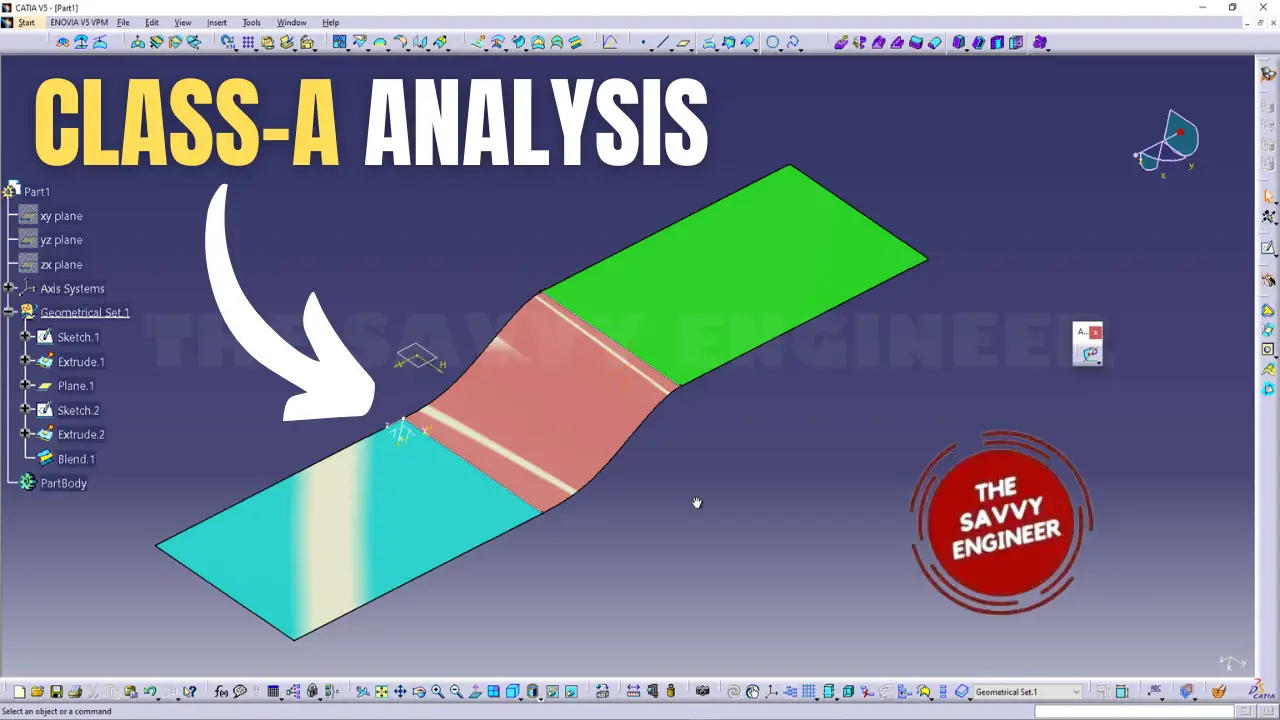
Adjusting Surface Appearance
To visualize better, change the surface color.
- Right-click on the surface and go to “Appearances.”
- Choose a color like orange or grey to help distinguish it.
- Fine-tune the surface to make sure it’s smooth and matches the surrounding geometry.
Working with Multiple Directions
Sometimes, you need to project surfaces in more than one direction.
- Use the second direction option in the extrude surface feature.
- Carefully check for continuity to avoid gaps.
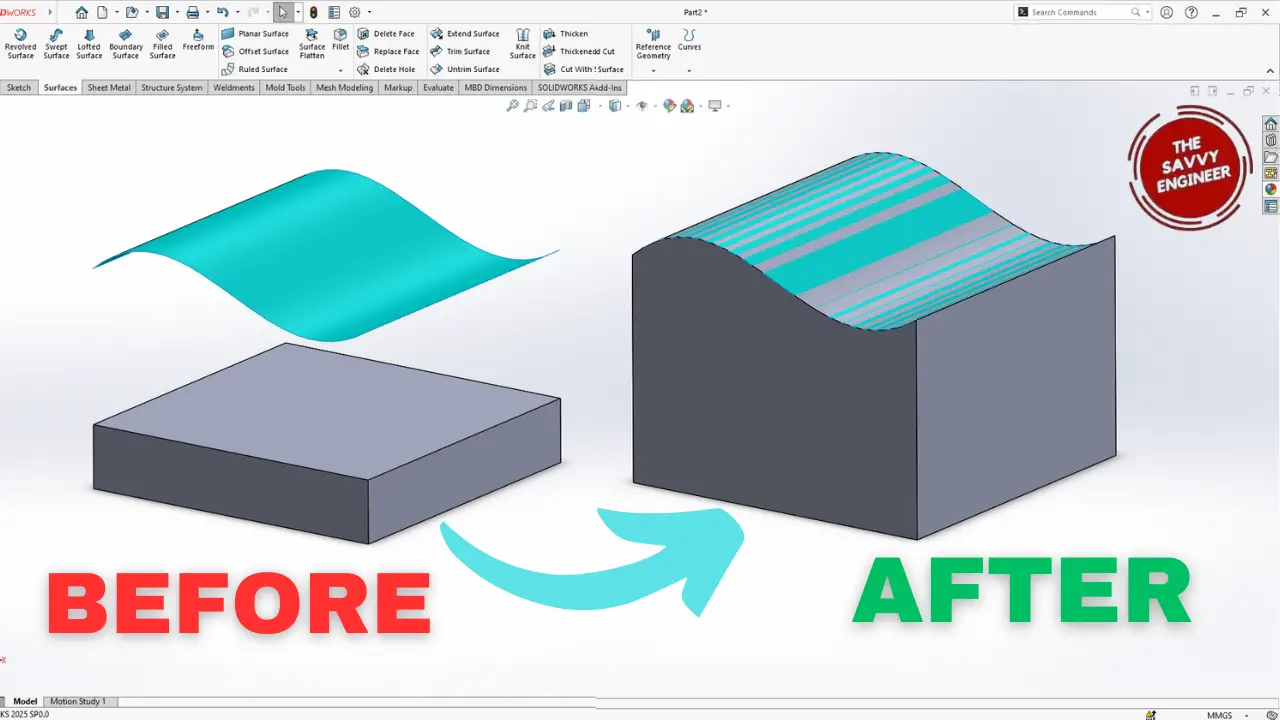
Using Replace Face to Match Surfaces
How the Replace Face Command Works
This tool replaces an existing face with a new surface designed to fit precisely.
- Go to the “Surfaces” tab and click “Replace Face.”
- Select the face you want to update.
- Pick the surface you want to replace it with.
Achieving a Seamless Fit
- Make sure the new surface aligns perfectly with other faces.
- Use visualization tools to check for gaps or overlaps.
- Adjust surface boundaries as needed for a tight fit.
Tips for Better Surface Replacement
- Use smooth boundaries and try to match curvature.
- If things don’t line up, tweak the original spline or surface accordingly.
- Practice small changes to improve the overall match.
Real-World Examples
- Automotive design: Shaping car body panels for smooth curves.
- Aerospace parts: Designing aerodynamic shells.
- Custom enclosures: Crafting ergonomic cases for electronics.
Mastering surface extrusion and face replacement helps in building complex, seamless models required in many industries. These skills allow you to push your designs further and create more refined products.
Tips for Advanced Users
- Break complex surfaces into manageable parts.
- Use surfacing tools like lofts for more control.
- Explore add-ins for better surface control if needed.
Conclusion
Figure out how to extrude a face up to an external surface in SolidWorks is a mix of precise sketching and surface tools. Remember to start with good sketches, choose the right commands, and verify your results visually. Practice makes perfect—the more you work with these tools, the easier it gets to create complex, professional designs. Keep practicing, and soon you’ll be creating smooth, intricate shapes with confidence.