How to Verify Class A Surfaces in CATIA : Step-by-Step Guide
Creating smooth, high-quality surfaces is key for good design in industries like automotive and aerospace. If you work with Katillaa, you need to know how to check if your surfaces are Class A. These surface types are smooth and free of observable flaws, making your final product look perfect. This guide walks you through the entire process—from building your model to verifying its surface quality—so you can confidently produce top-tier designs.
Understanding Class A Surfaces in CATIA
What Are Class A Surfaces?
Class A surfaces are premium surfaces used in high-end designs. They are super smooth, with consistent curves and no visible bumps or dips. Companies rely on them for visible parts of cars, airplanes, or consumer products because they look and feel flawless.
Compared to B and C surfaces, Class A is the gold standard. B surfaces might have minor imperfections, while C surfaces are rough and primarily used for non-visible details. For visual appeal, only Class A meets the industry standards for surface quality.
Why Do They Matter?
Having a Class A surface means your design will be clean and refined. It also ensures that the surface’s curvature transitions smoothly, reducing wind noise, drag, or visual flaws. Using them correctly improves both aesthetics and performance.
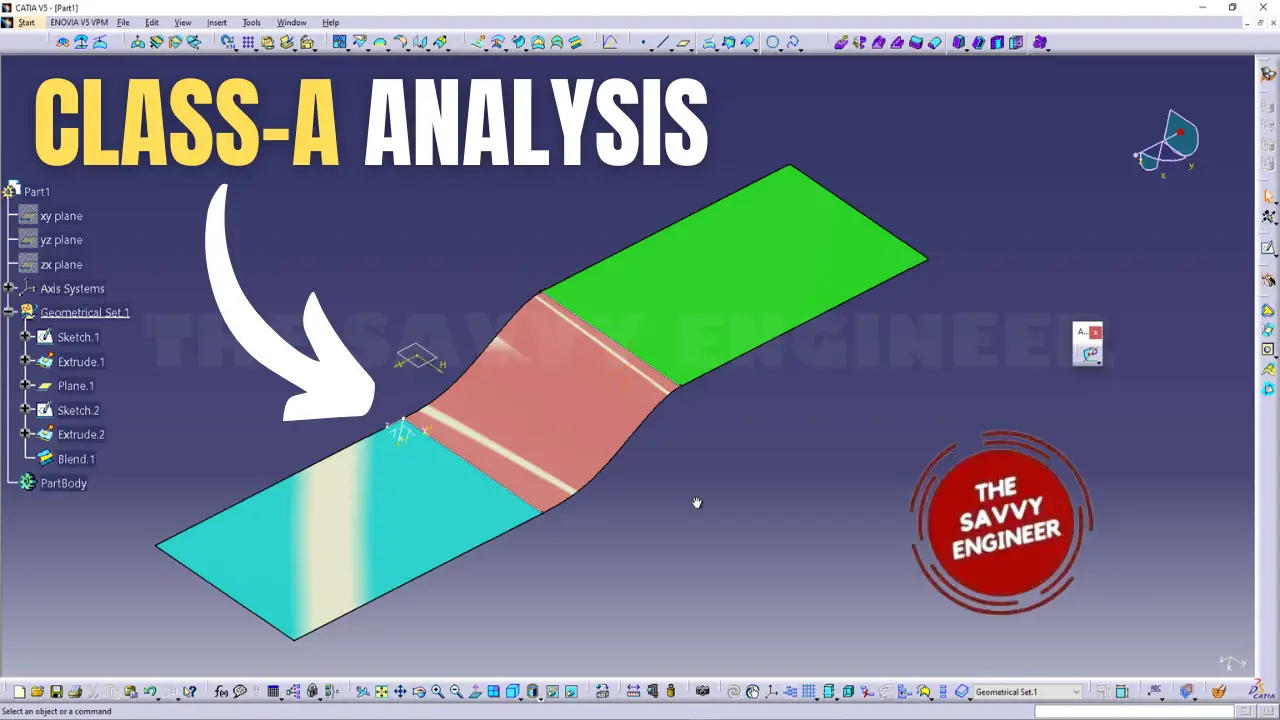
Interpreting the Results
For Class A status, the values should be within specific thresholds:
- G0 should be no more than 0.01mm.
- G1 should be less than or equal to 0.1°.
- G2 should be zero or very close.
If your results are within these bounds, your surface qualifies as Class A. If not, some adjustments are needed.
Ensuring Your Surfaces Meet Class A Standards
Best Design Practices
Maintain smooth curvature transitions during modeling. Small tweaks to control points and blend settings can make a big difference. Regularly run the analysis as you refine your surfaces.
Post-Modeling Checks
Always verify your surfaces after making modifications. Document the G0, G1, and G2 data and address any deviations by refining the curves or surfaces. Use smoothing tools if necessary to improve curvature flow.
Common Problems and Fixes
Issues like gaps or sharp curves often show up as high G1 or G2 values. To fix this, adjust control points or re-balance your blend commands so the curvature flows more evenly. Rethink support curve placement if needed.
Advanced Tips for Surface Optimization
Improving Surface Quality
Use CATIA ‘s surface tools like fillets and blends to smooth out irregularities. These help create even more refined Class A surfaces.
External Tools for Verification
Sometimes, external analysis software offers deeper insights. Export your models for additional review or smoothing, especially for very complex parts.
Key Takeaways
- Start with well-organized sketches and supports.
- Use “Connect Checker Analysis” to measure G0, G1, and G2 continuity.
- Keep G0 below 0.01mm, G1 below 0.1°, and G2 as close to zero as possible.
- Regularly verify and refine your surfaces during the design process.
- Small adjustments can dramatically improve surface quality and help you achieve Class A standards.
Conclusion
Verifying that your surfaces meet Class A standards is essential for high-quality designs. Following the steps above ensures your surfaces are smooth, continuous, and industry-ready. Make this verification a routine part of your workflow, and you’ll consistently produce top-tier products that stand out for their aesthetics and performance. Keep practicing, and soon, verifying Class A surfaces in CATIA will become second nature.