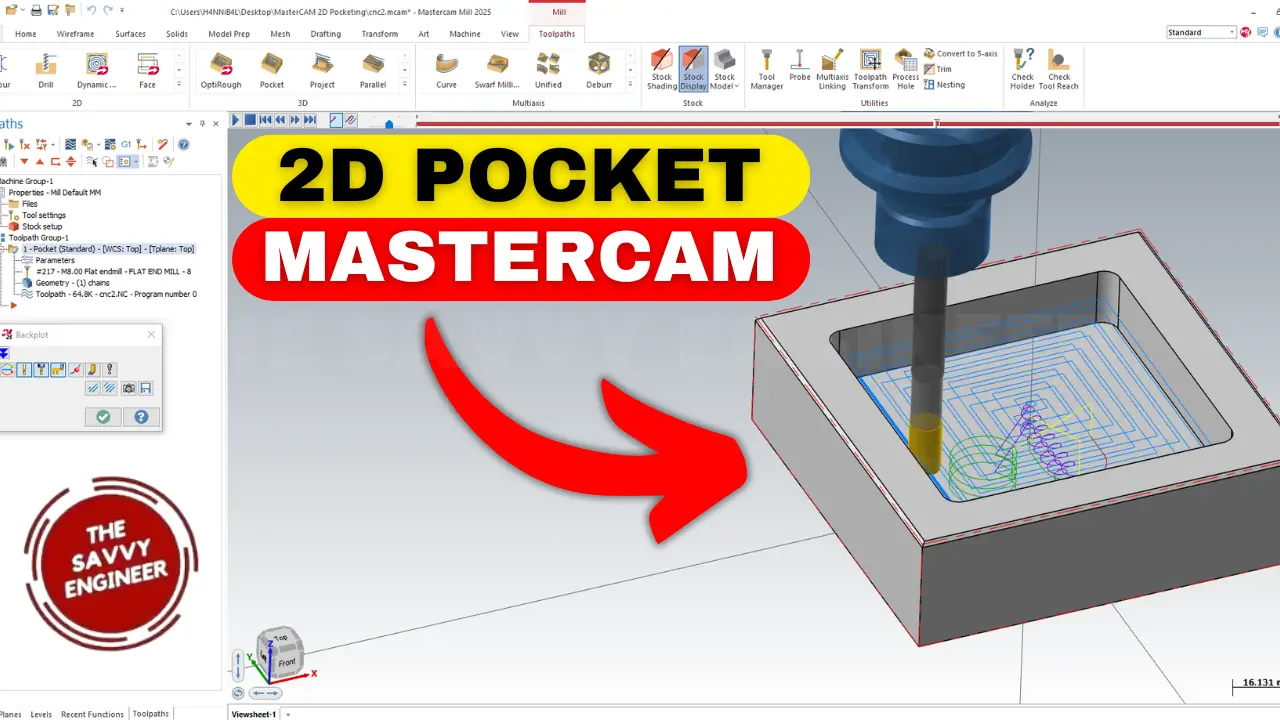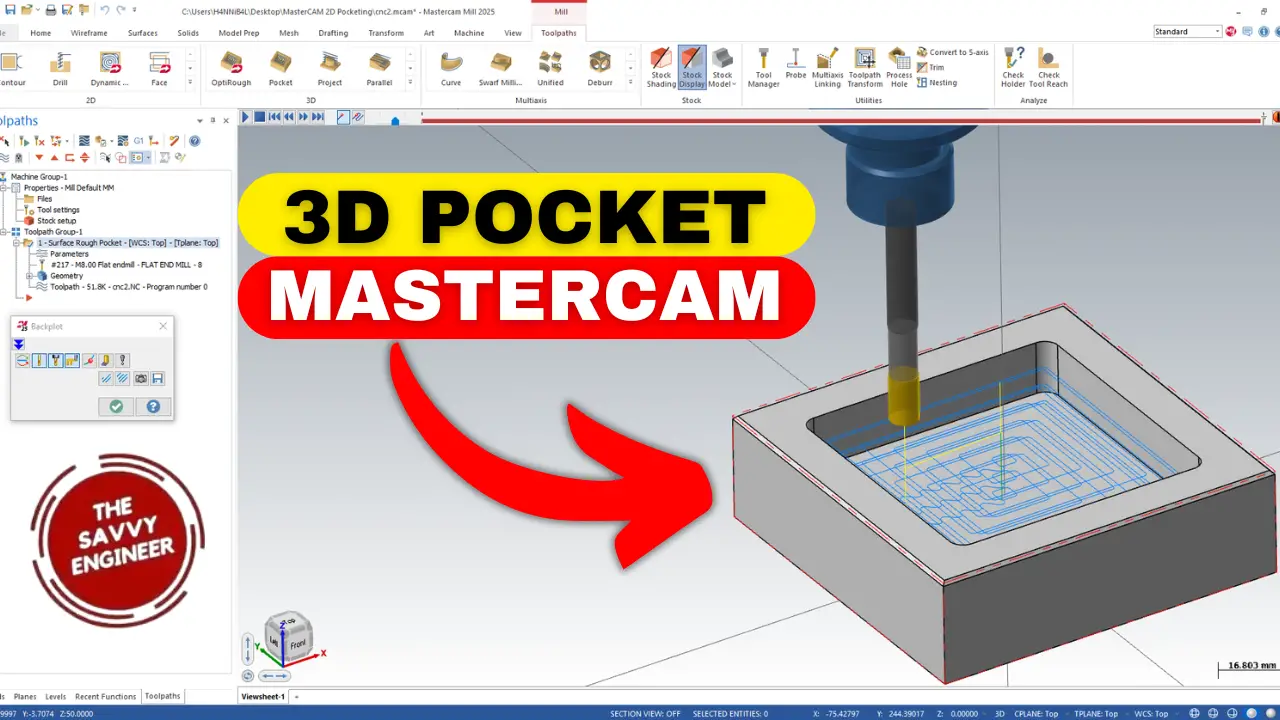
Mastering 3D Pocketing Machining in Mastercam: A Step-by-Step Guide for CNC Professionals
Creating complex shapes in CNC machining often requires precise and efficient methods. One of the most common techniques is 3D pocketing, which helps remove material from intricate surfaces and creates clean, smooth features. Learning how to set up 3D pocketing in Mastercam boosts your ability to produce high-quality parts faster and more accurately. This guide walks you through the entire process, from setting up your workspace to fine-tuning cutting parameters, so you can master this vital operation.
Setting Up for 3D Pocketing in Mastercam
Your first step is to prepare your environment in Mastercam. Start by navigating through the menus: go to Machine > Mill > Default. This sets the foundation for your project. Before creating a toolpath, setting up the stock is essential. It tells the software how much material is to be removed.
To define your stock, use the Create Rectangular Stock command. Select your workpiece, then end the selection process. Make sure to visualize the stock by turning on the display option with red lines. Accurate stock setup ensures your toolpath matches your actual workpiece dimensions, especially for complex or irregular parts.
Selecting the Right Tool for the Job
Choosing the perfect tool makes a big difference in how well your part turns out. For pocketing, an 8 mm diameter flat endmill is a popular choice. To find this tool in Mastercam, filter tools by type and size by clicking Filter > None. Then, switch the filter from Ignore to Equal and specify 8 mm.
Once selected, configure the tool’s parameters. Adjust surface parameters in the second tab: set both the retract height and feed plane to 35 mm. These settings help your tool recover safely. Think of it as giving your cutter a clear path to travel. Proper configuration prevents mishaps and improves finish quality.
Creating the 3D Pocketing Operation
Now, it’s time to define your pocketing path. First, select the faces of your model that need machining. Click each face one by one, then confirm with End Selection. Next, choose Surface Route > Pocket from the list. This generates a toolpath aimed exactly at removing material from those faces.
Set your cutting parameters carefully. Since you plan to cut to a depth of 15 mm, divide this into manageable layers. In the route parameters, specify a Maximum Step-Down of 5 mm. Cutting in multiple passes keeps your tool from overheating, extends its life, and improves cut quality.
Adjust the cut depths in the Z-axis. Set the starting point to zero, then define the final depth as -15 mm—this makes sure the tool stops exactly where you want. Using absolute positioning for depths helps in consistently controlling the operation.
Finalizing and Reviewing the Machining Strategy
Before running a full simulation, double-check your toolpath. Visualize the milling process in Mastercam to see how the tool will move across the surface. Look out for any overlaps, missed faces, or potential collision points. This stage is your last chance to catch errors and prevent costly mistakes.
Once satisfied, run the simulation. Watching the material being removed step by step gives you confidence that your setup is correct. Make adjustments if necessary—maybe tweak the feed rate or change the cut depth to suit your material.
Expert Tips for Better 3D Pocketing Results
- Use appropriate feed and spindle speeds based on your material and cutter choice.
- Always select a tool with the right length and diameter for your pocket dimensions.
- Keep the step-over (the width of each pass) small enough for a smooth finish but not so small that machining takes too long.
- During setup, be sure to double-check face selections—missing a face can ruin your whole operation.
- Set proper retract heights to avoid accidental crashes when moving between cuts.
Conclusion
Mastering 3D pocketing in Mastercam takes practice, but with this step-by-step guide, you’ll get there faster. The key lies in precise setup, choosing the correct tools, and controlling your cuts carefully. Doing so results in better surface finishes, less machining time, and longer tool life. Keep experimenting with different parameters and edge cases—they’ll make you a more confident CNC pro. Start applying these techniques today and see your parts come out perfect every time.